Debian is one of the most stable Linux distributions, and installing it with encryption makes it extremely secure and private. The steps below detail every step of using the graphical installer to complete the base install without a desktop environment. I will follow up this blog post with different minimal options for desktop environments and window managers, including suggested software and links to my custom configuration files and post-installation scripts.
NOTE: You will need a fast internet connection for this method of installation.
Step 1: Download the Debian ISO file, the URL path will look like the following address (update the 12.10.0 version to the most current version)
https://cdimage.debian.org/cdimage/release/12.10.0/amd64/iso-cd/debian-12.10.0-amd64-netinst.isoStep 2: Make a bootable USB flash drive using Etcher or similar program
Step 3: Boot into the BIOS on your PC, disable Secure Boot, then select the USB flash drive and boot into the Debian ISO
Step 4: Select the Graphical Install
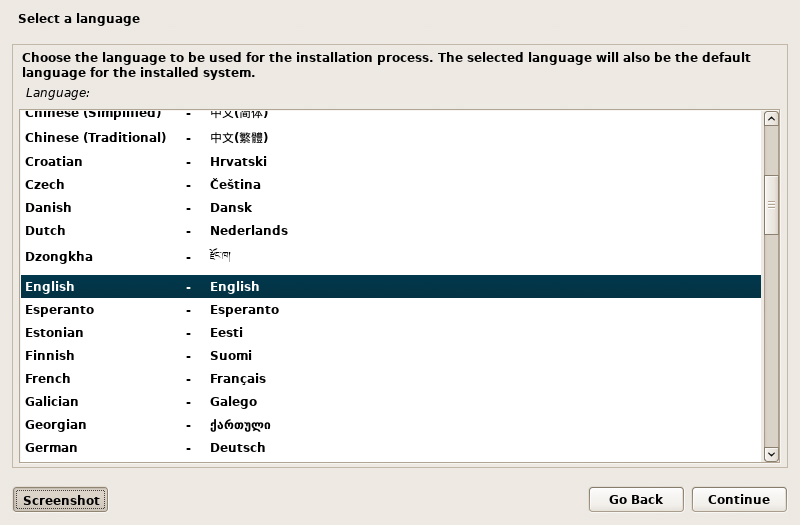
Step 5: Select your language
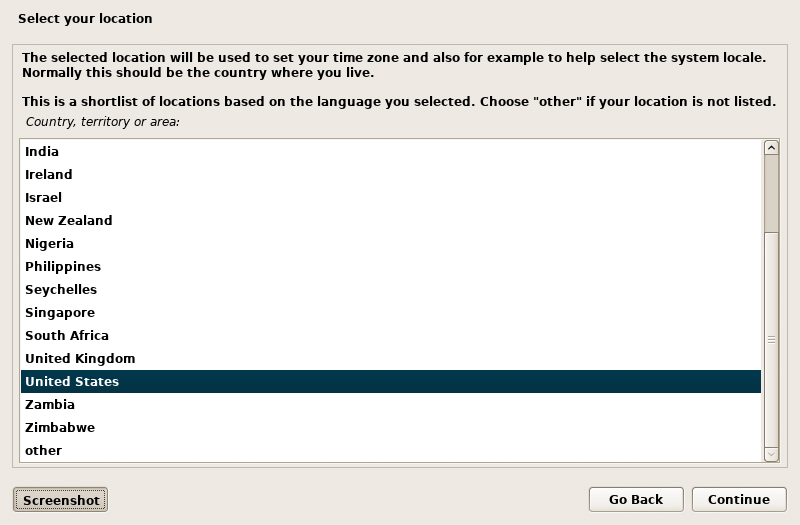
Step 6: Select your location
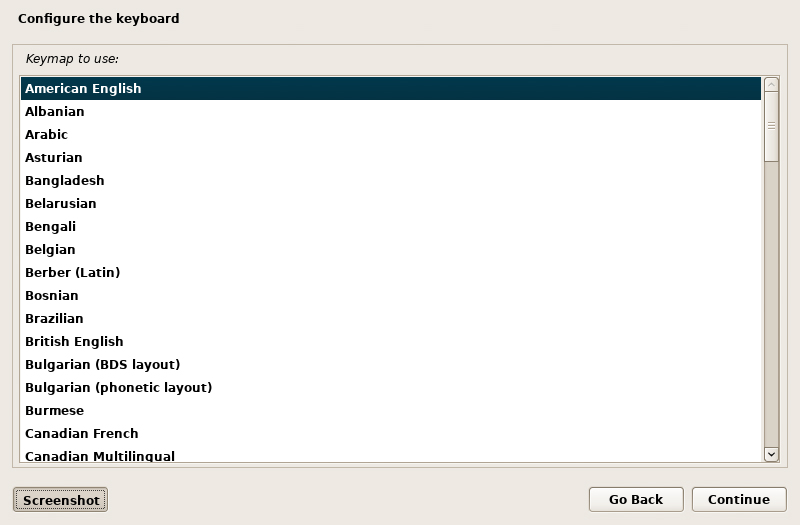
Step 7: Select your keyboard
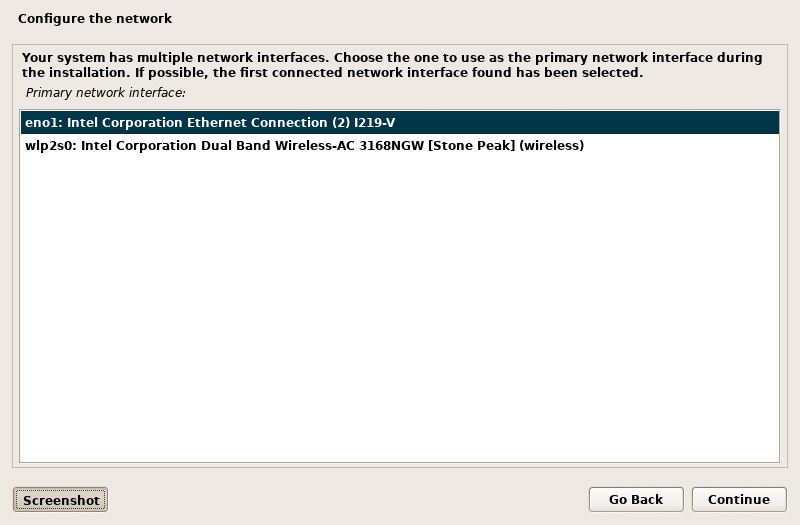
Step 8: Select your network interface (ethernet is the most reliable option for installation, wireless can be setup later with your desktop environment or window manager)
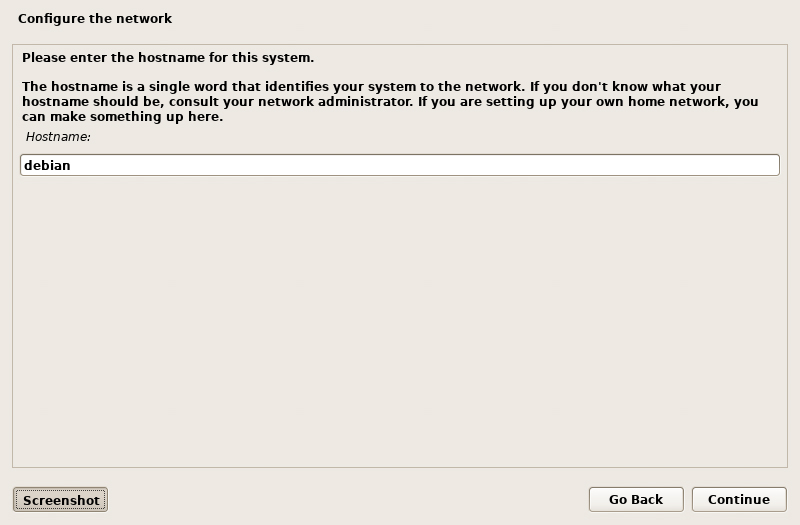
Step 9: Enter a hostname (this will be your computer’s name)
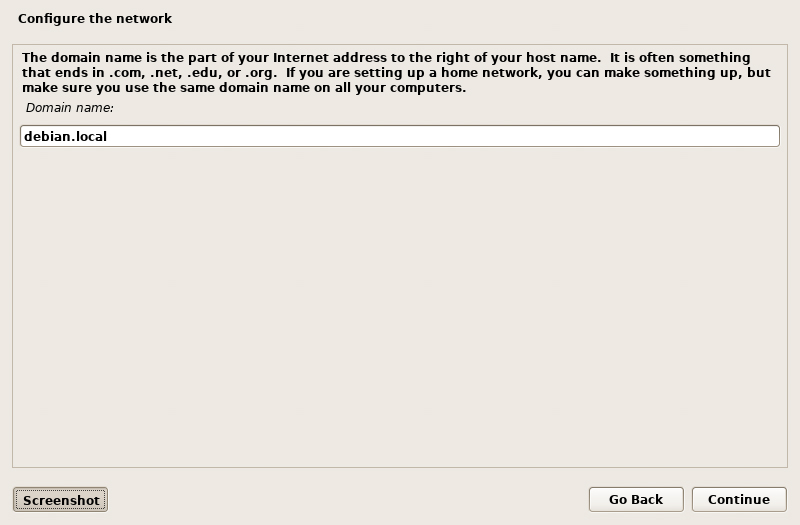
Step 10: Enter a domain name (for typical home use you can leave this field empty)
Step 11: Leave Root password fields empty (this will make your initial user account a root/sudo administrator account)

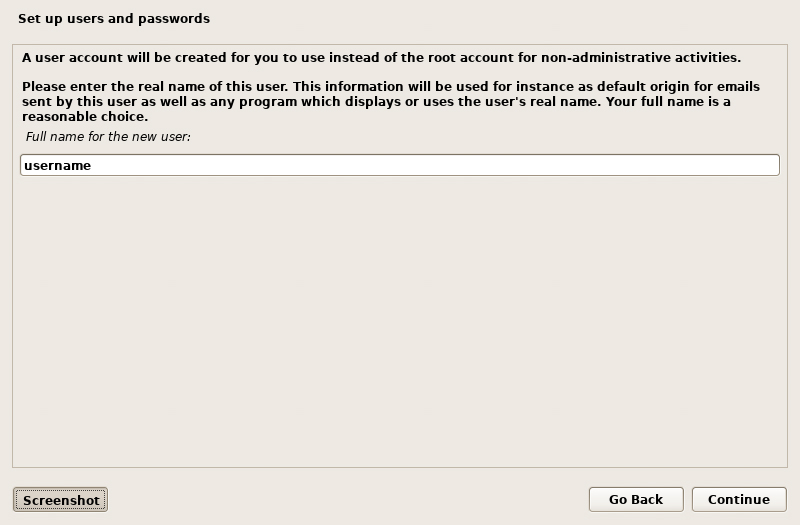
Step 12: Enter your full name for your user account
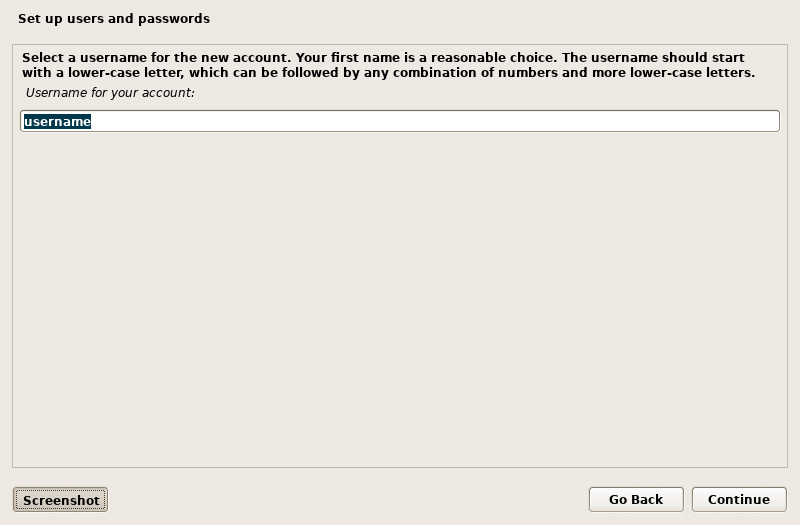
Step 13: Enter your username for your user account
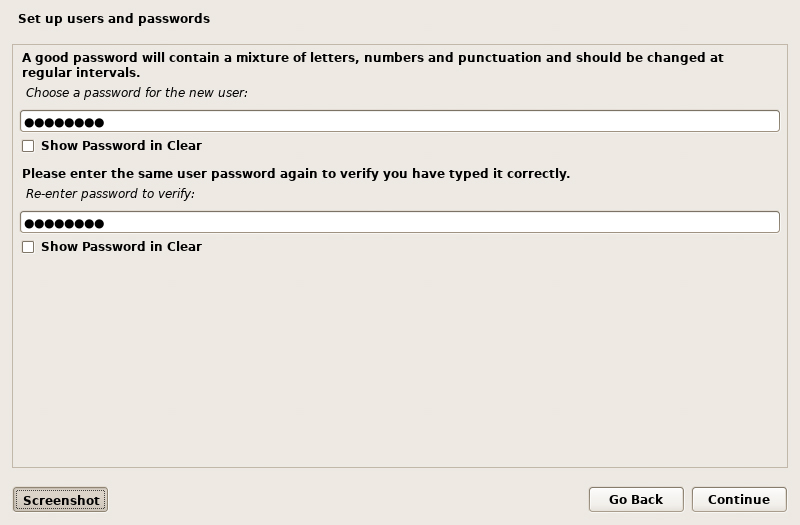
Step 14: Enter your new password for your user account
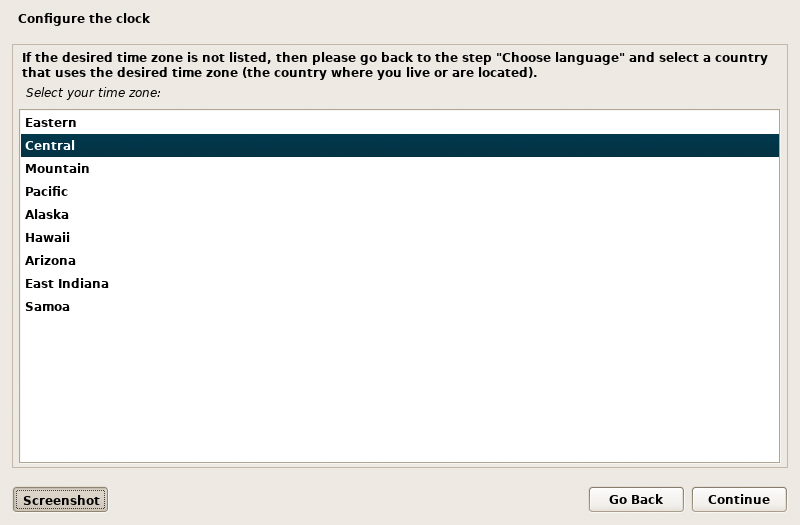
Step 15: Select your time zone
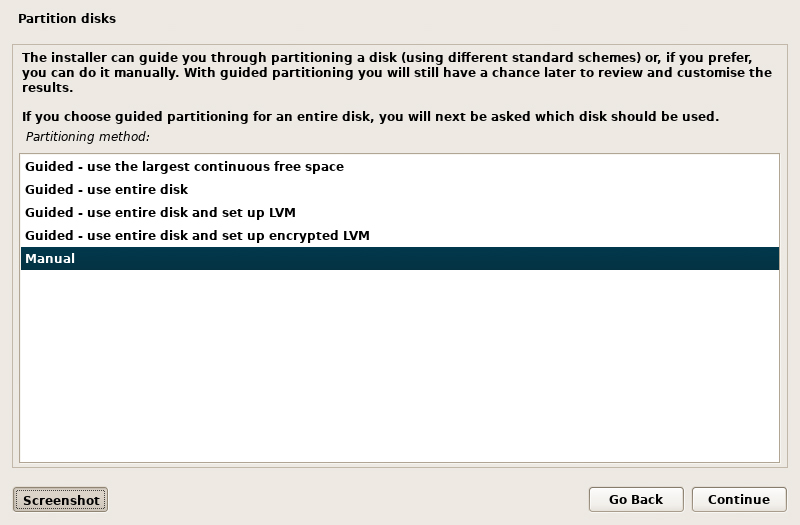
Step 16: Select “Manual” to partition your hard drive
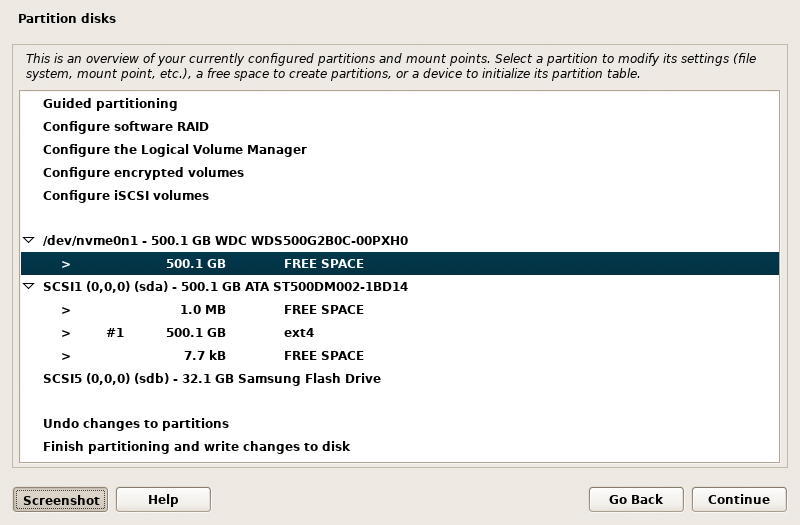
Step 17: Select the hard drive you want to partition and use for installation
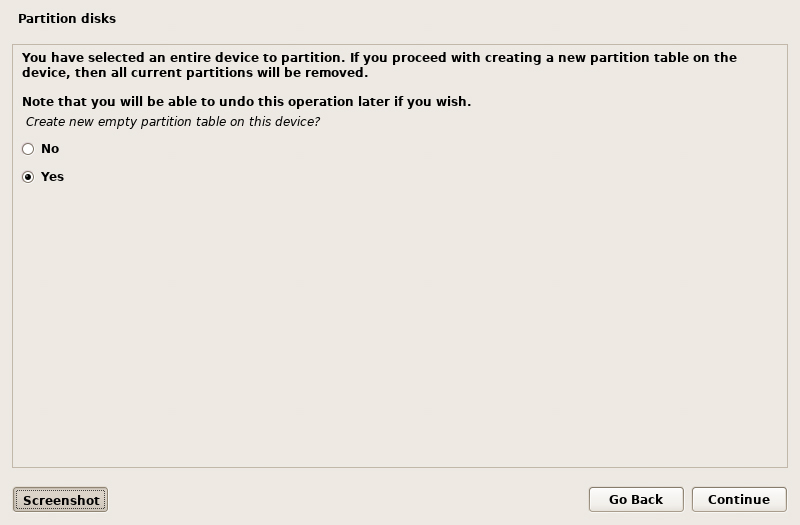
Step 18: Select “Yes” to create a new empty partition table
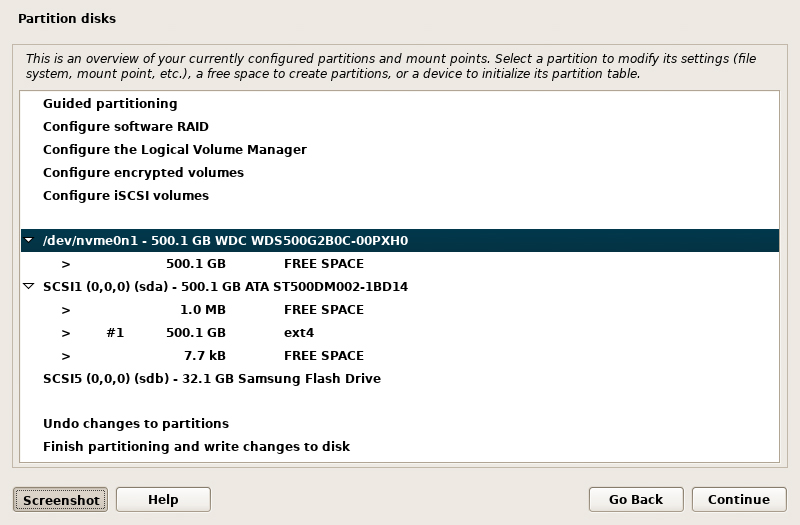
Step 19: Select the free space on the correct hard drive
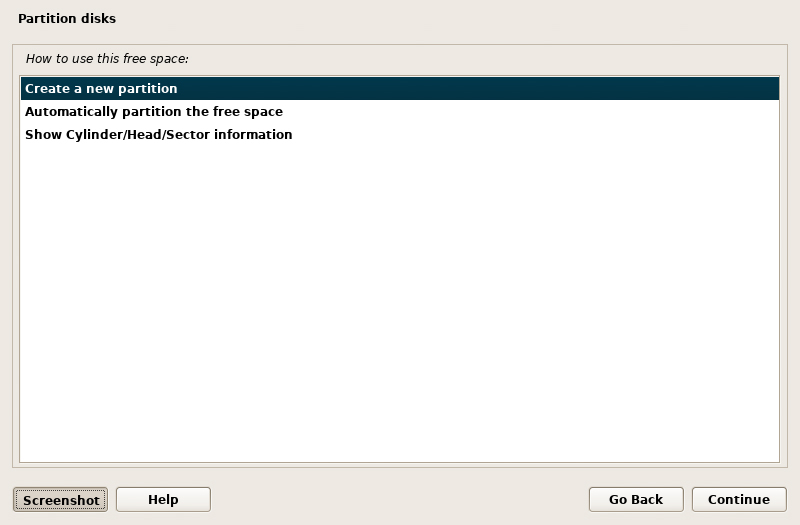
Step 20: Select “Create a new partition”
Step 21: Enter a new partition size (this first partition can be 0.5 GB or less, 0.25 GB seems to work fine)

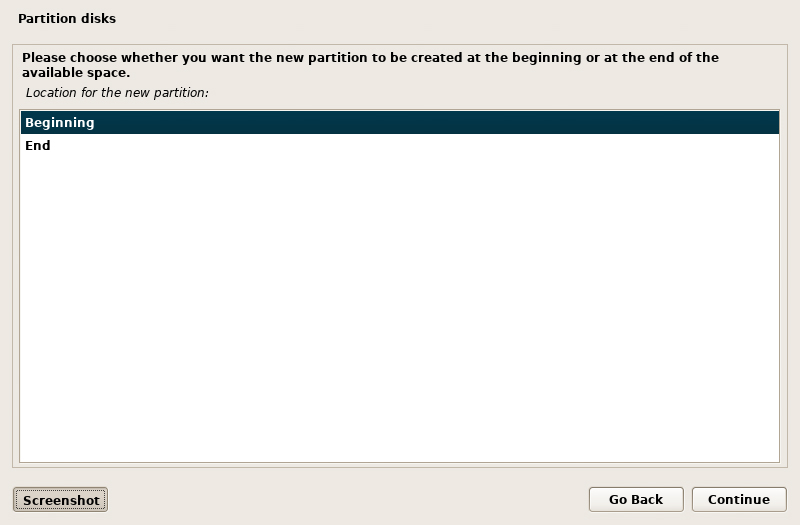
Step 22: Select “Beginning” for the location

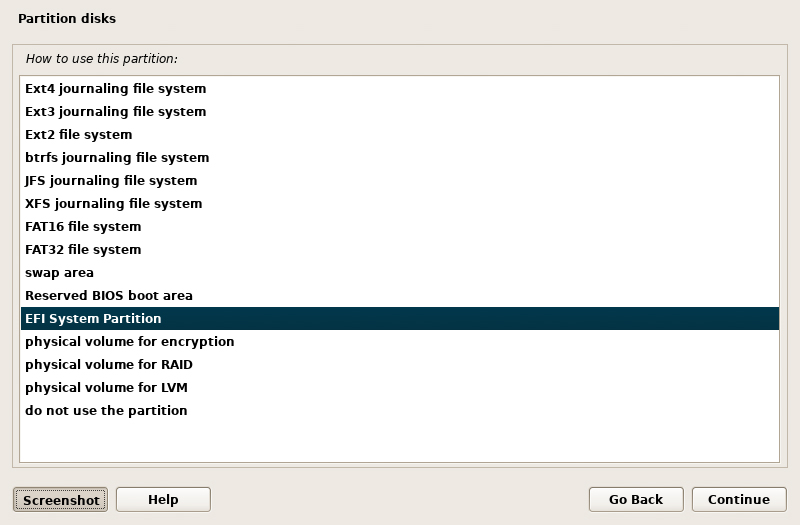
Step 23: Select “Use as:”
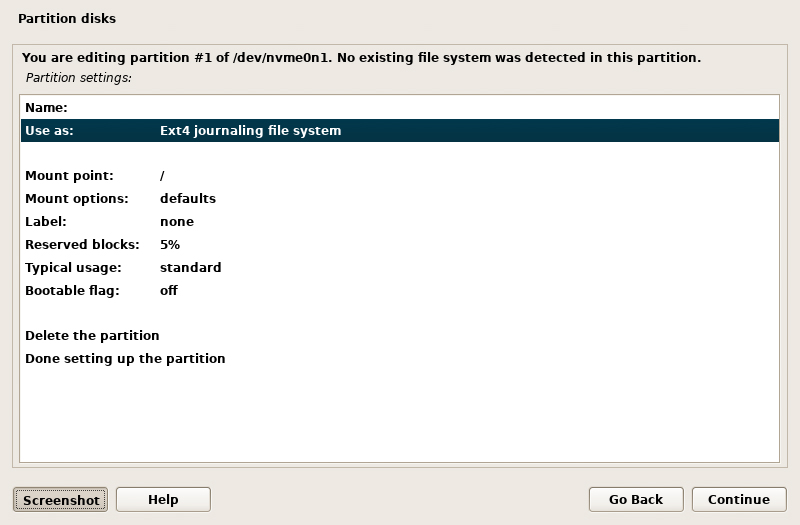
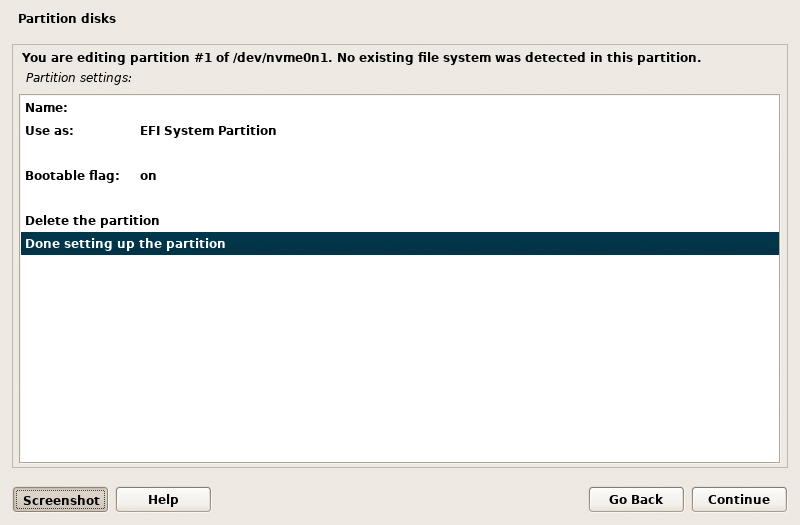
Step 24: Select “EFI System Partition”
Step 25: Select “Done setting up the partition”
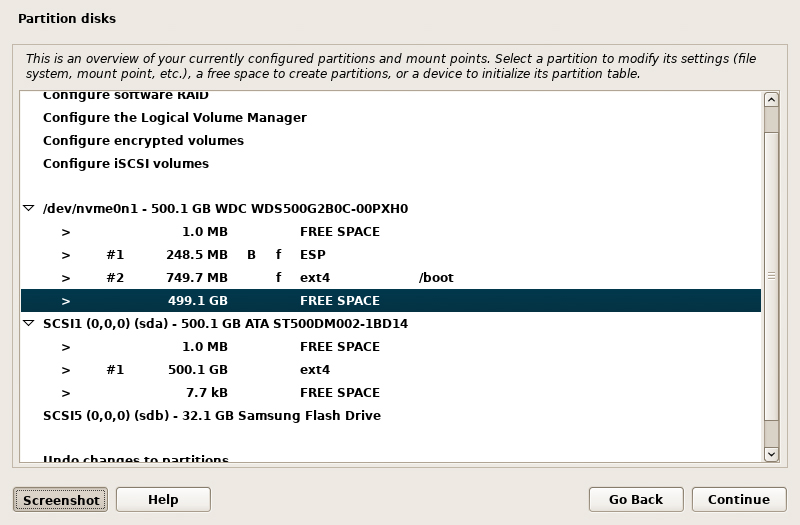
Step 26: Select the largest free space on the correct hard drive
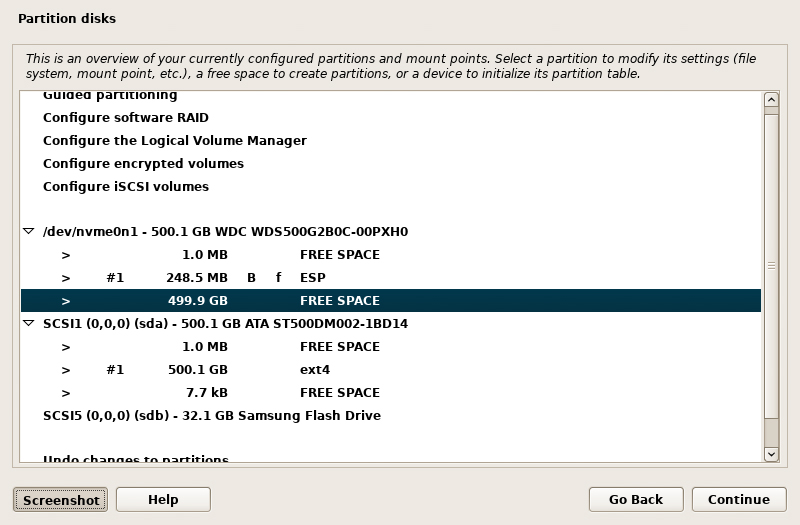
Step 27: Select “Create a new partition”

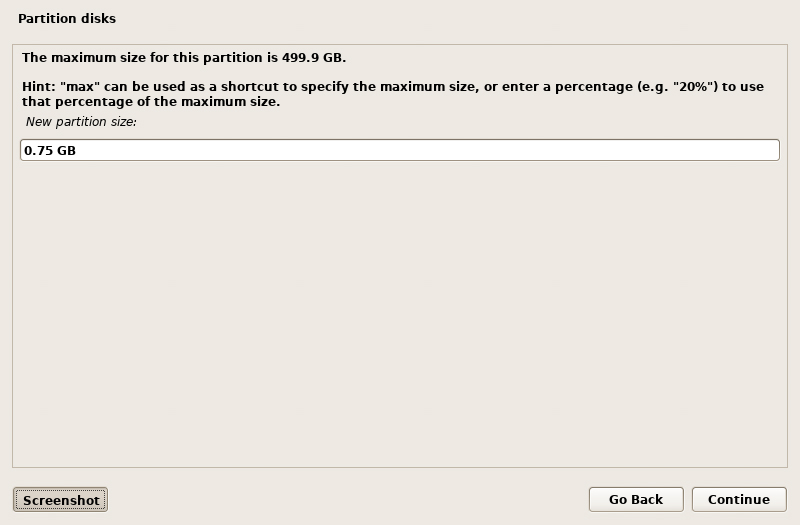
Step 28: Enter a new partition size (this second partition can be 1.0 GB or less, 0.75 GB seems to work fine)
Step 29: Select “Beginning” for the location
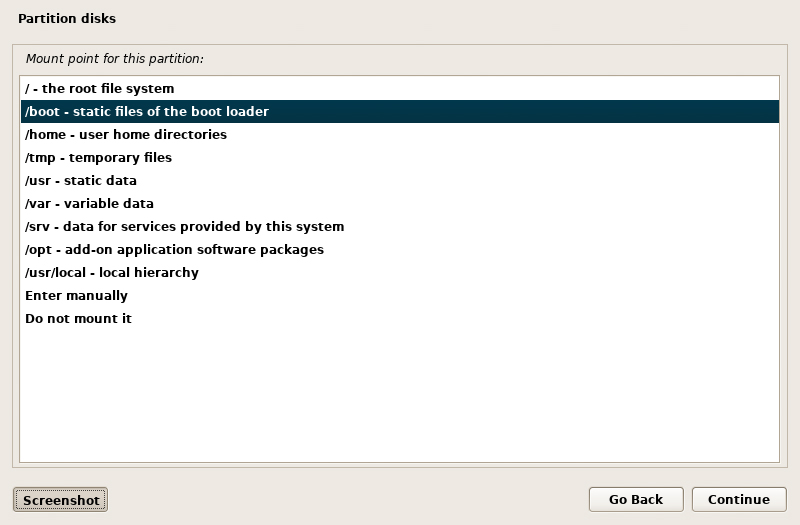
Step 30: Select “Mount point:”
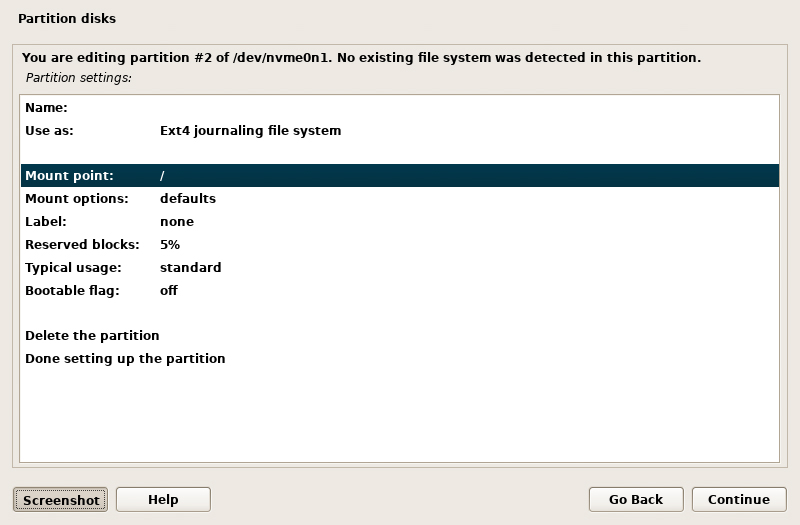
Step 31: Select “/boot – static files of the boot loader”
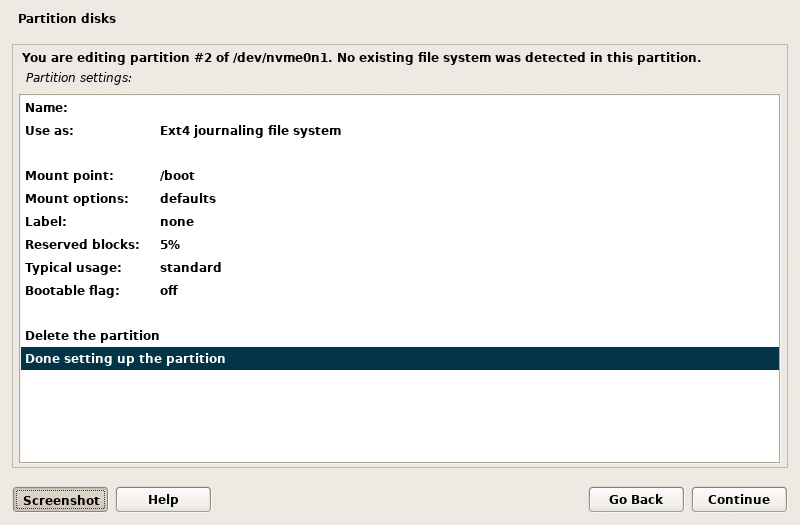
Step 32: Select “Done setting up the partition”
Step 33: Select the largest free space on the correct hard drive
Step 34: Select “Create a new partition”

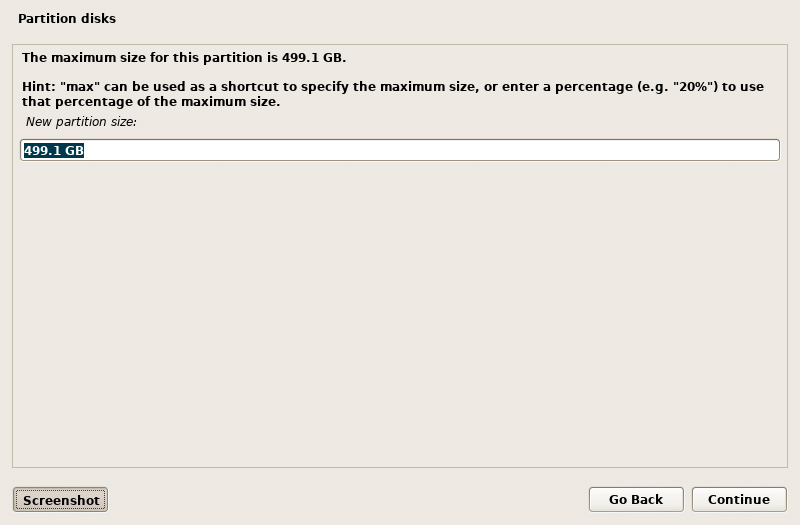
Step 35: Enter a new partition size (the maximum size should already be pre-populated in the field, this will use the remaining space)
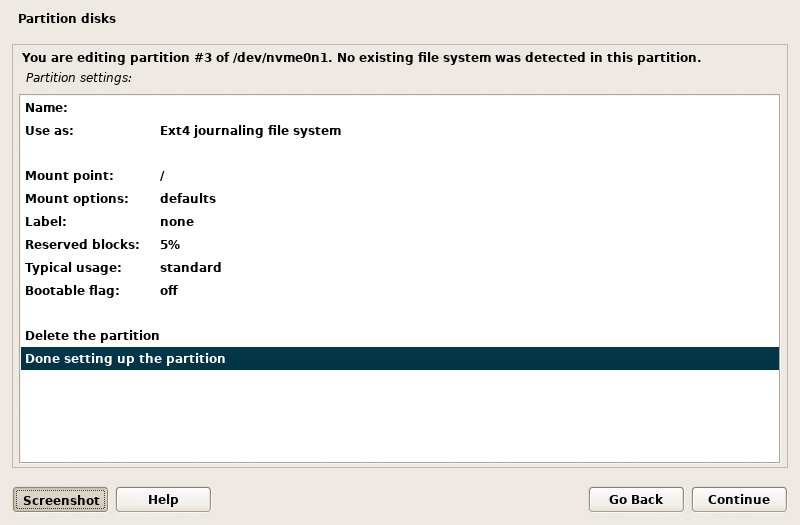
Step 36: Select “Done setting up the partition”
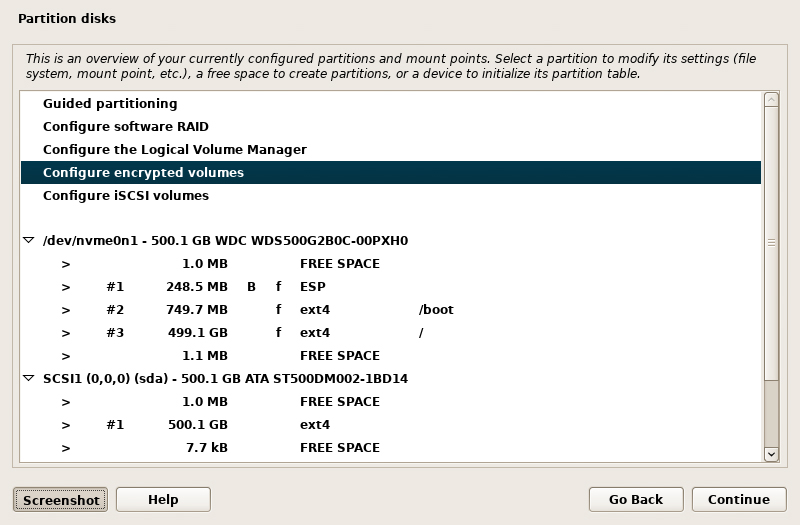
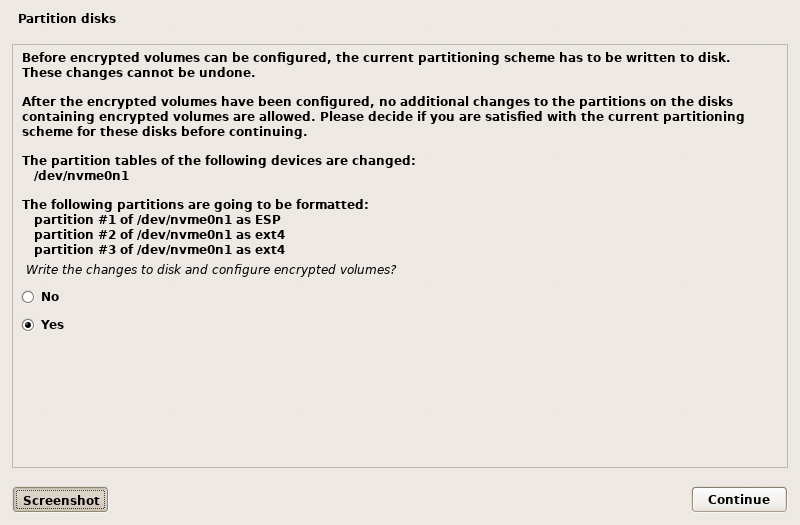
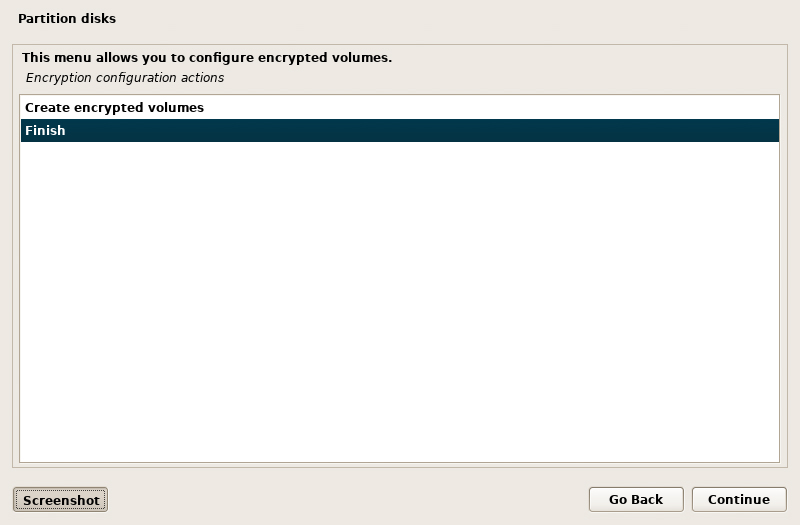
Step 37: Select ‘”Configure encrypted volumes”
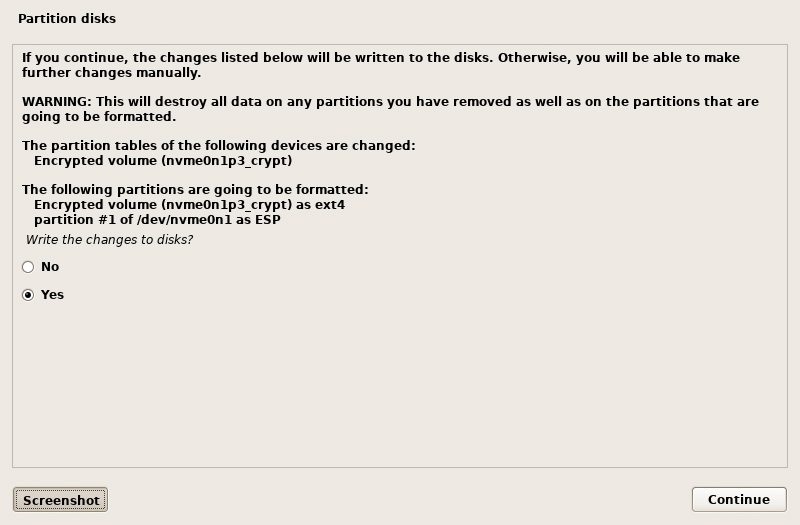
Step 38: Select “Yes” to write the changes to the disk
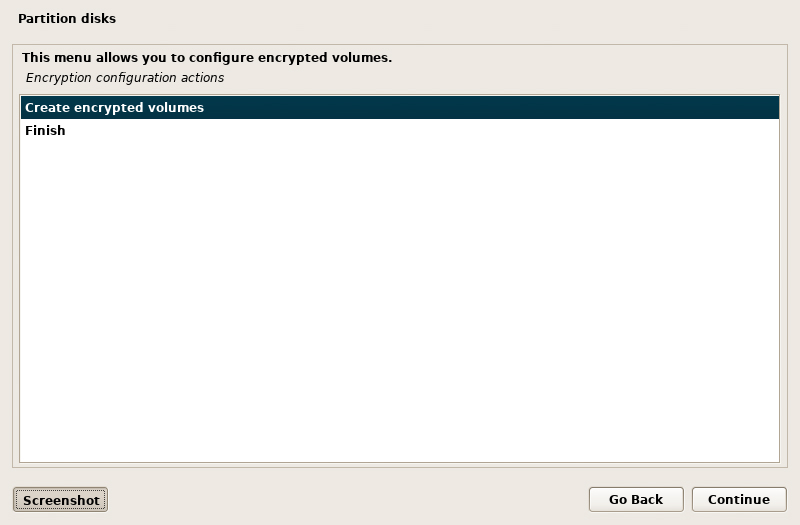
Step 39: Select “Create encrypted volumes”
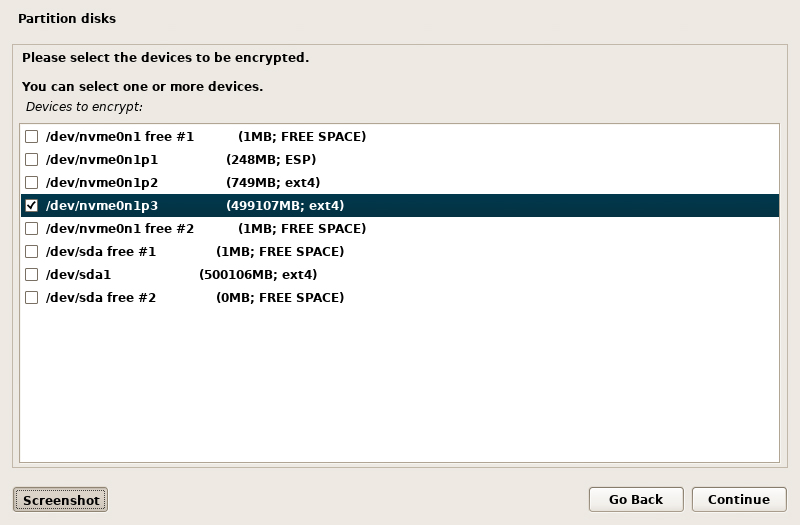
Step 40: Select the largest partition on the correct hard drive (this will be partition #3 from the previous steps above)
Step 41: Select “Erase data:” and change it to “no” for new hard drives, otherwise you can leave it to “yes” to fully wipe the drive before installation
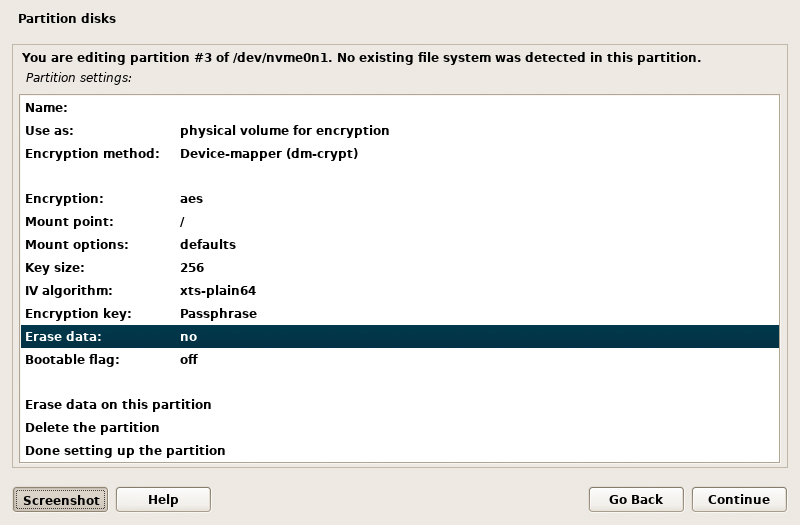
Step 42: Select “Done setting up the partition”

Step 43: Select “Finish”
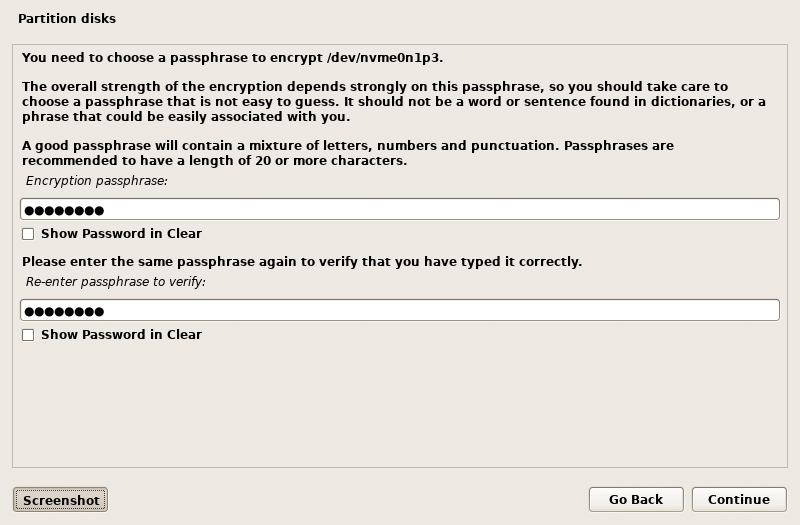
Step 44: Enter your new encryption passphrase (8 characters minimum)
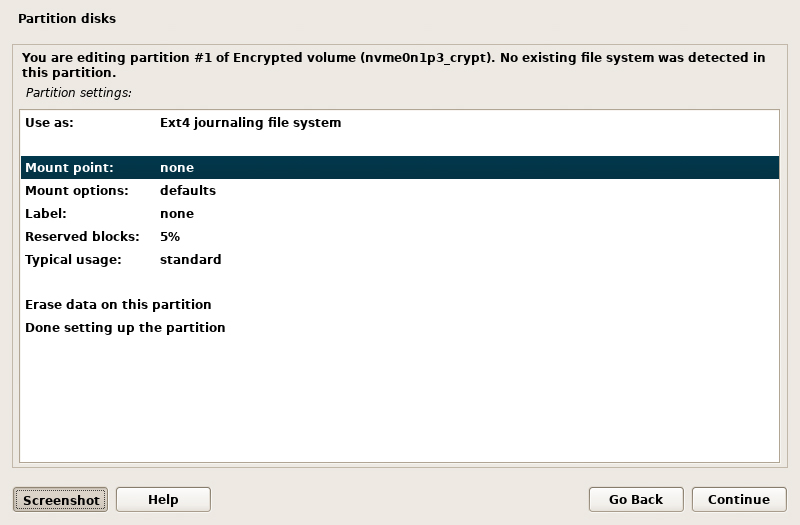
Step 45: Select the #1 encrypted volume

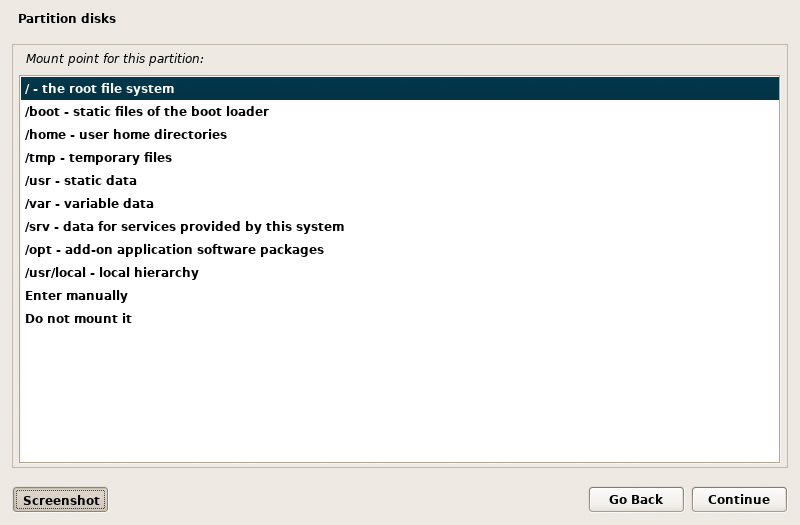
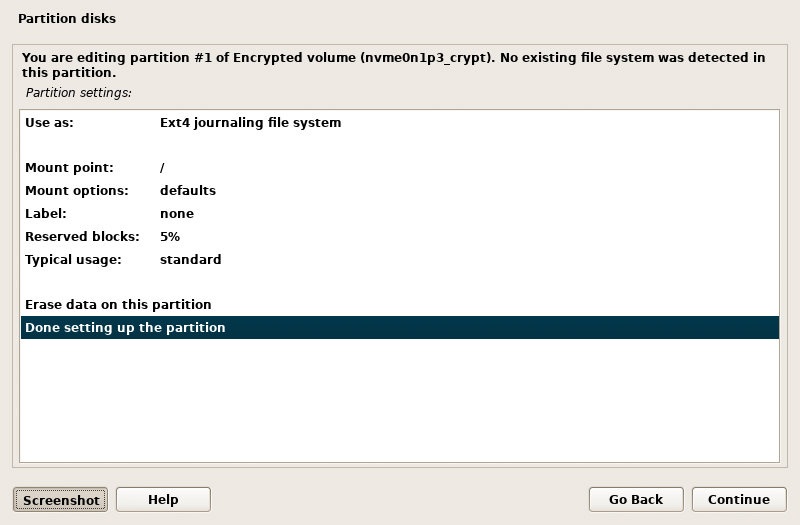
Step 46: Select “Mount point:”
Step 47: Select “/ – the root file system”
Step 48: Select “Done setting up the partition”
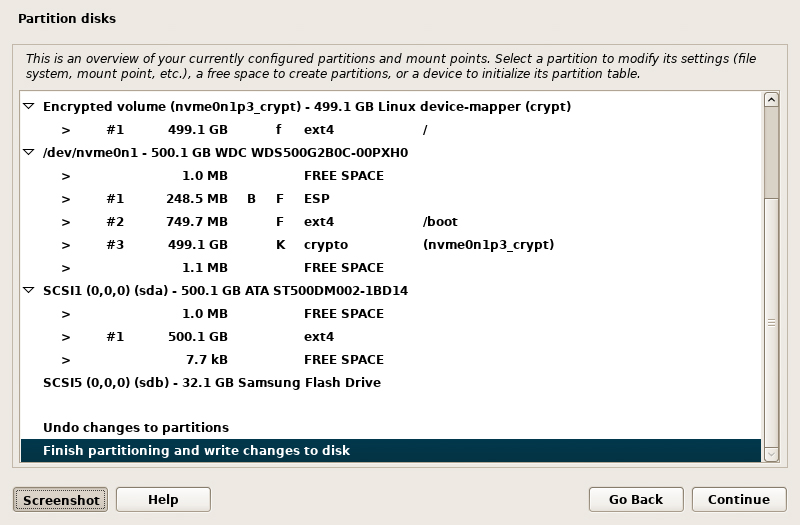
Step 49: Select “Finish partitioning and write changes to disk”
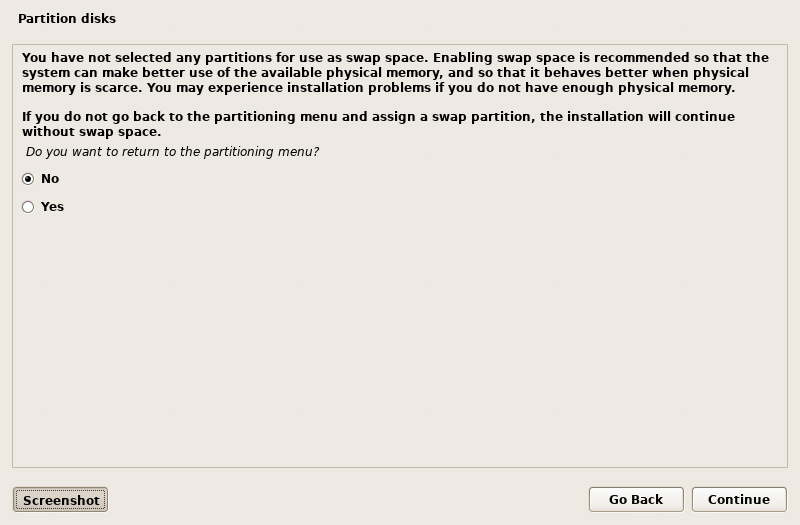
Step 50: Select “No” to returning to the partitioning menu (a swap file will be added in later steps, so a swap partition is not needed)
Step 51: Select “Yes” to write the changes to the disk
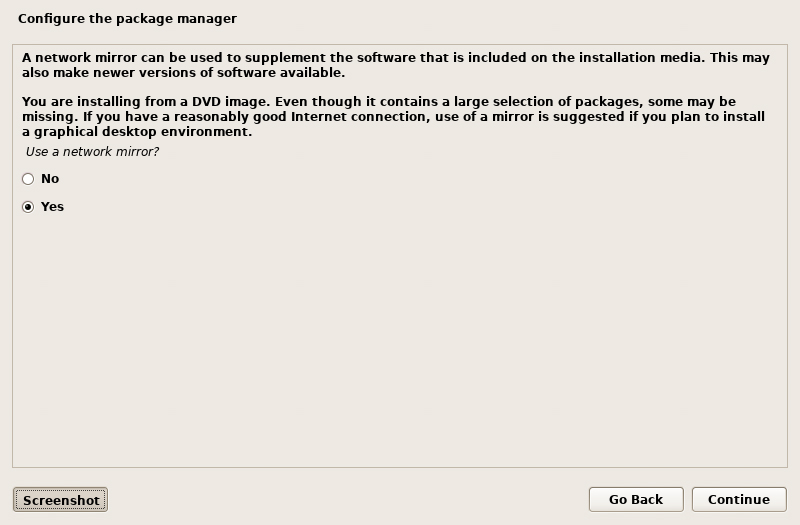
Step 52: If this screen appears, select “Yes” to use a network mirror, otherwise skip to the next step
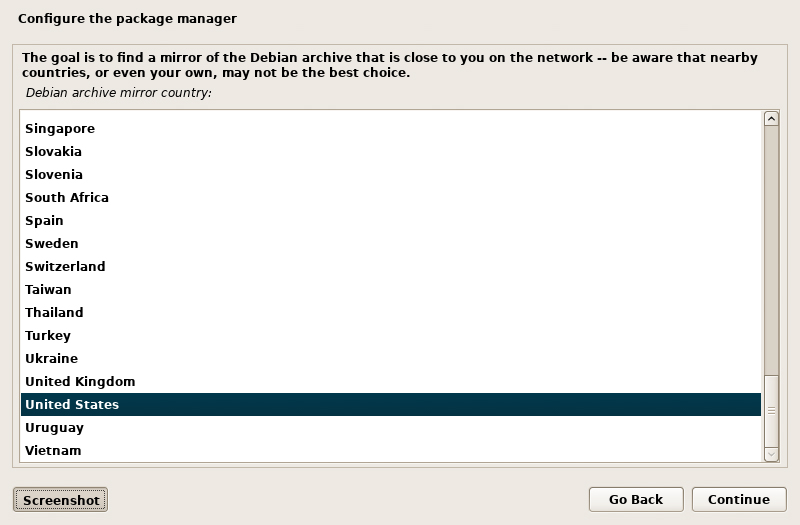
Step 53: Select an archive mirror location closest to you
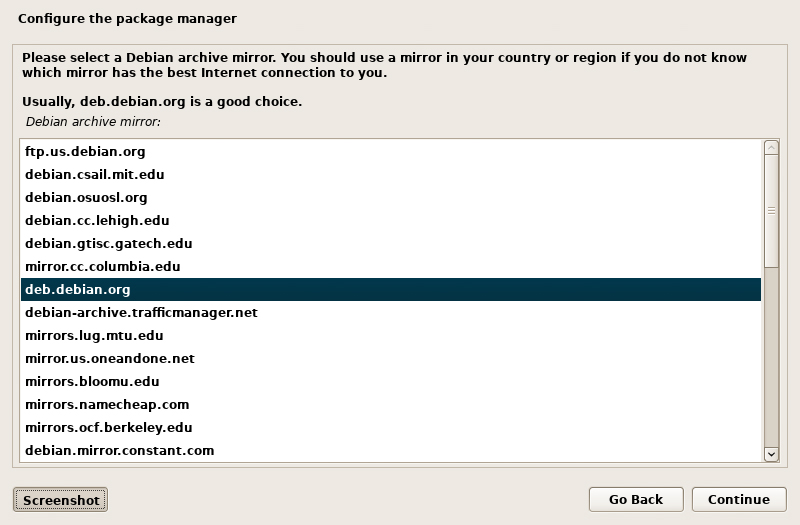
Step 54: Select an archive mirror
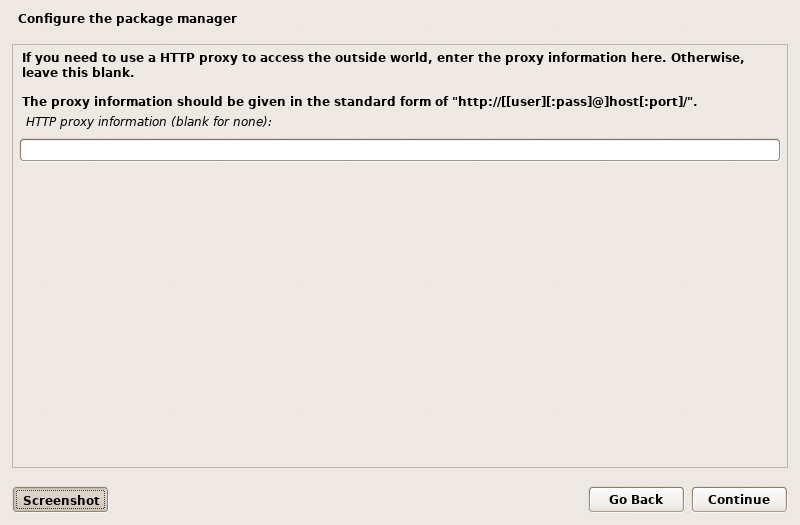
Step 55: Leave the HTTP proxy field blank
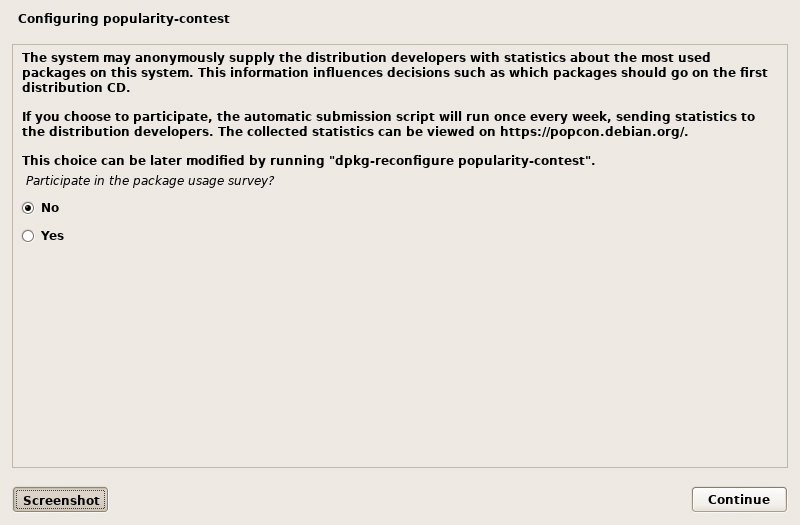
Step 56: Select the default “No” option to not participate in the usage survey (this will disable the optional telemetry data collection)
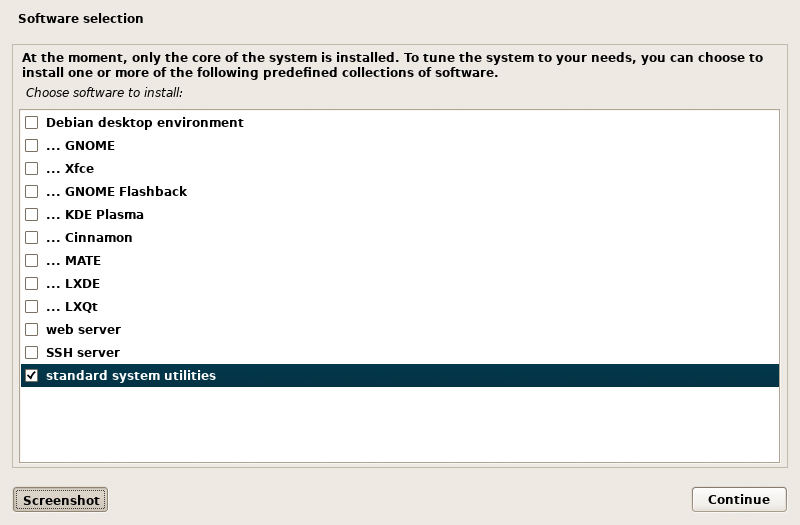
Step 57: Deselect all options, leaving only “standard system utilities” selected
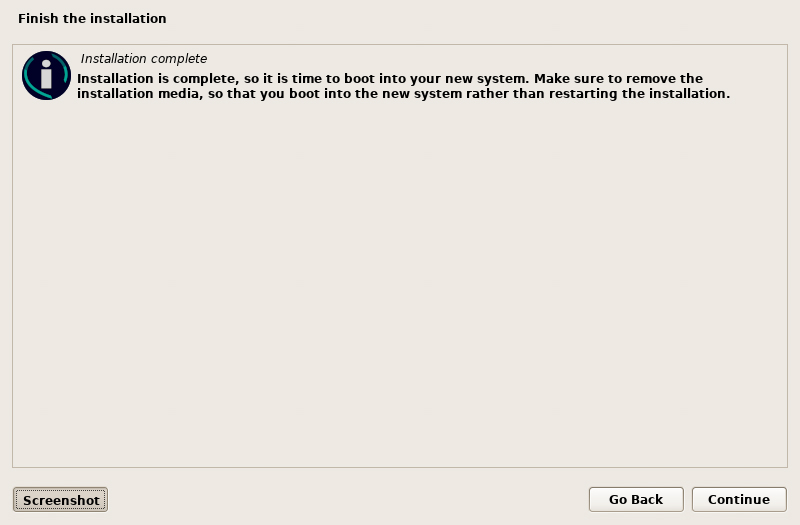
Step 58: Remove the flash drive from the PC and select “Continue” and the PC will reboot
Step 59: Enter the encryption passphrase you created to unlock the disk (from Step 44)
Step 60: Enter the username you created (from Step 13)
Step 61: Enter the password you created (from Step 14)
TIP: To increase the font size of the TTY screen for HiDPI monitors, enter sudo dpkg-reconfigure console-setup, then select UFT-8 > Latin1 and Latin5 - western Europe and Turkic languages > Terminus > 16x32 (framebuffer only), then enter clear
Step 62: Edit the sources.list file
sudo nano /etc/apt/sources.listEdit each listed source to include main contrib non-free non-free-firmware
deb http://deb.debian.org/debian bookworm main contrib non-free non-free-firmware
deb-src http://deb.debian.org/debian bookworm main contrib non-free non-free-firmware

deb http://deb.debian.org/debian-security/ bookworm-security main contrib non-free non-free-firmware
deb-src http://deb.debian.org/debian-security/ bookworm-security main contrib non-free non-free-firmware

deb http://deb.debian.org/debian bookworm-updates main contrib non-free non-free-firmware
deb-src http://deb.debian.org/debian bookworm-updates main contrib non-free non-free-firmware
Step 63: Save and exit the sources.list file
Step 64: Update and upgrade the system
sudo apt update && sudo apt upgradeStep 65: Install additional firmware for the PC hardware
sudo apt install firmware-linux firmware-linux-nonfreeStep 66: Add a swap file
sudo fallocate -l 2G /swapfile

sudo chmod 600 /swapfile

sudo mkswap /swapfile

sudo swapon /swapfile
Step 67: Edit the fstab file
sudo nano /etc/fstabAdd the following lines to the bottom of fstab file
# swap file
/swapfile swap swap defaults 0 0
Step 68: Save and exit the fstab file
Step 69: Edit the sysctl.conf file
sudo nano /etc/sysctl.confAdd the following line to the bottom of the sysctl.conf file
vm.swappiness=5Step 70: Save and exit the sysctl.conf file
Step 71: Edit the grub file
sudo nano /etc/default/grubEdit the GRUB_CMDLINE_LINUX_DEFAULT line and add splash like the following example
GRUB_CMDLINE_LINUX_DEFAULT="quiet loglevel=2 splash"Step 72: Save and exit the grub file
Step 73: Update grub
sudo update-grubAll done! Now Debian is fully installed and ready for installation of a desktop environment or window manager.
Blog posts that follow-up this post: