Xfce is one of the most stable and customizable desktop environments available for Linux. It’s efficient and modular, making it a lightweight option that will work with almost any PC, and can be configured to look almost any way imaginable. The steps below work well with a Debian base installation as I covered in a previous post, and will install Xfce with my custom configurations and theming, along with a good base set of applications. The default configuration is based on using ‘Window Scaling 2x’ for HiDPI monitors, but there is an option at the end of the script that lets you change to ‘Window Scaling 1x’ settings for use with standard HD monitors.
Step 1: Install Git
sudo apt install gitStep 2: Clone my custom scripts
git clone https://github.com/e33io/scriptsStep 3: Change the directory to the scripts directory
cd scriptsStep 4: Run the Xfce script
sh debian-install-xfce.shStep 5: At the end of the script you will see the option below for what type of monitor are you using, and answer 1 for Standard HD (96 dpi settings for ‘Window Scaling 1x’), or 2 for HiDPI (192 dpi settings for ‘Window Scaling 2x’), then you will see “All done, you can now run other commands or reboot the PC” when the script is finished
################################################################
The option below lets you select a configuration specific
to your monitor type for proper display scaling.
################################################################
   1) Standard HD (96 dpi settings for 'Window Scaling 1x')
   2) HiDPI (192 dpi settings for 'Window Scaling 2x')
----------------------------------------------------------------
What type of monitor are you using?
Step 6: Reboot the PC
sudo rebootXfce Keybindings
Modifier keys:

Super     Windows key
Alt       Alt key
Ctrl      Control key
Shift     Shift key
Return    Enter key
Space     Space bar
Left      Left arrow key
Right     Right arrow key
Up        Up arrow key
Down      Down arrow key
Tab       Tab key
Print     PrtSc (Print Screen) key
button1   Left mouse button
button3   Right mouse button
Custom keybindings:

Super+d              Program launcher (Application Finder)
Super+Return         Launch terminal
Super+Shift+Return   Launch file manager
Super+b              Launch web browser
Super+t              Launch text editor
Super+1              Switch to workspace 1
Super+2              Switch to workspace 2
Super+3              Switch to workspace 3
Super+4              Switch to workspace 4
Super+5              Switch to workspace 5
Super+6              Switch to workspace 6
Ctrl+Alt+Right       Switch to next workspace
Ctrl+Alt+Left        Switch to previous workspace
Super+Shift+1        Move active window to workspace 1
Super+Shift+2        Move active window to workspace 2
Super+Shift+3        Move active window to workspace 3
Super+Shift+4        Move active window to workspace 4
Super+Shift+5        Move active window to workspace 5
Super+Shift+6        Move active window to workspace 6
Super+Shift+Right    Move active window to next workspace
Super+Shift+Left     Move active window to previous workspace
Super+Shift+f        Toggle active window fullscreen
Super+Shift+m        Maximize and unmaximize active window
Super+Shift+v        Maximize and unmaximize active window vertically
Super+Shift+h        Maximize and unmaximize active window horizontally
Super+Shift+i        Minimize (hide) active window to panel
Super+Ctrl+Right     Move active window right
Super+Ctrl+Left      Move active window left
Super+Ctrl+Up        Move active window up
Super+Ctrl+Down      Move active window down
Ctrl+Shift+Right     Resize active window width larger
Ctrl+Shift+Left      Resize active window width smaller
Ctrl+Shift+Up        Resize active window height smaller
Ctrl+Shift+Down      Resize active window height larger
Super+Shift+Space    Move active window to center of screen
Super+Right          Tile active window right
Super+Left           Tile active window left
Super+Up             Tile active window up
Super+Down           Tile active window down
Alt+Tab              Cycle through active windows
Alt+Shift+Tab        Cycle through active windows (reverse)
Super+Shift+q        Close active window
Ctrl+Alt+d           Show desktop
Ctrl+Print           Launch screenshot application
Print                Screenshot entire desktop
Shift+Print          Screenshot selected area
Super+Print          Screenshot active window
Super+x              Lock screen
Super+p              Power menu (lock, logout, reboot, shutdown)

Super+button1 in the window and drag       Move active window
button1 on the window title bar and drag   Move active window
Super+button3 in the window and drag       Resize active window
button1 on the window border and drag      Resize active window
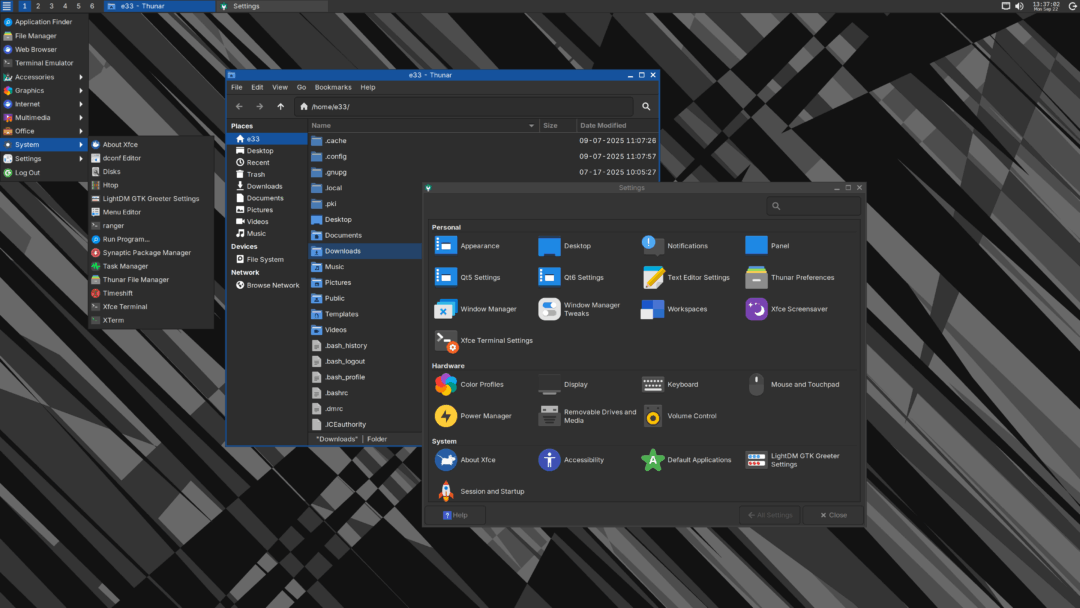
Go to, Settings Manager > Keyboard > Application Shortcuts, and Settings Manager > Window Manager > Keyboard, to see all the configured keybindings that aren’t indicated in the box above.